Clipping Path (CP) is a popular background removal tool. For instance: whenever you join graphic elements from Photoshop CS 5 in a full page outline program such as In Design, you may want to compound the inside graphic objects over a different colored background.
But, whenever you bring the final graphic into your design layout, the backdrop behind the specific objects spoils the effect of your complete background quality. CP is the easy solution to make the backdrop disappear.
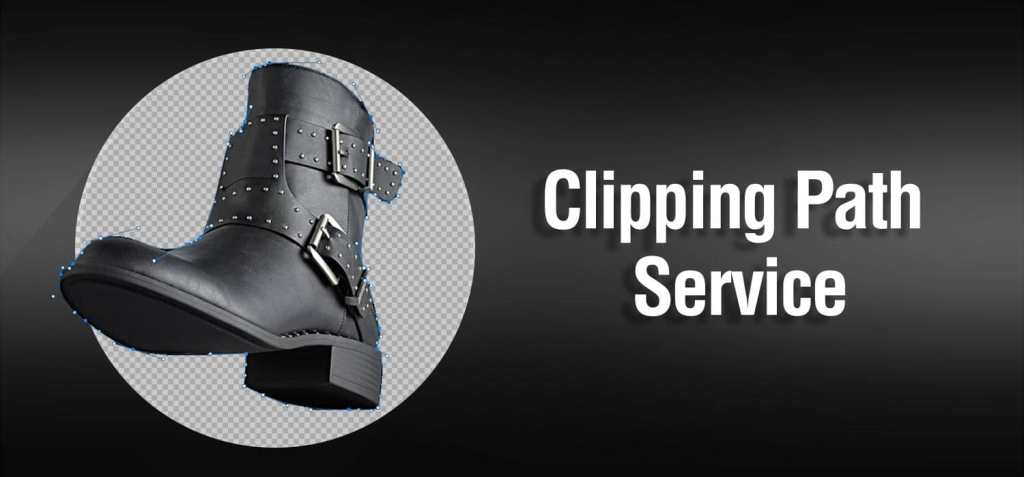
Here I’m giving you few easy steps on how to make clipping paths:
1. To start with launch Adobe Photoshop CS 5 then choose Open from the menu and demand file location which you intend to put in a CP.
2. Now visit full-screen mode and enclose the document window with a neutral gray. Press the Z key in your keyboard and best clipping path service provider click in the file window to zoom in your object to 200 percent, so that you will see the edges of objects clearly.
3. At the next step open the paths panel, now choose new path from the menu bar and select the pen tool or, you might press the P key in your keyboard.
4. Now choose an appropriate kick off point, to start drawing your CP.
5. To draw a bend, just click and heave your cursor. You could use as few control points also.
6. Keep drawing around the item and soon you finish as much as the starting point.
7. Place the cursor over the very first point tip you drew. The cursor shape will change into a circle, signifying your path will be complete whenever you click.
